What is a Digital Glass Backsplash? Well if you are like most people, you might have heard or seen that you can print images on glass or acrylic and hang them as art pieces on your wall. Images look amazing when printed on glass and acrylic and are definitely statement pieces. There is actually a TV commercial where they are promoting printing on glass for your artwork. Although this is cool, We are taking the technology in a different direction and to an entire different level.
We are blending architectural design with functionality, in fact we can print on glass panels up to 12 feet long and up to 7 feet tall, creating the perfect digital glass backsplash. We are installing these glass panels as glass backsplashes in kitchens and baths and then backlighting them to transform the space to something extortionary. The installation is fairly straight forward and not to complex. There are however a few critical steps that must be followed for a successful install.
Step 1: Measuring
You have heard that you measure twice and cut once. Well this is especially true with a digital glass backsplash. The measurements have to be precise and often are measured to the 1/8th of an inch or even 1/16th of an inch. You will not be able to cut the glass once it is delivered. The glass is tempered before it is shipped which means that you can’t cut or shave off the glass even a little to make it fit. So the measurement has to be precise and measured by a professional.
Step 2: Choose Your Lighting

Before the install can begin you need to decide on lighting. Do you want the light to light up the image from the front? Or do you want the image to be backlit? Depending on your choice, there will be a major impact on how the wiring and lighting will be installed. If your image is front lit, most likely from under cabinet lighting, you will need to make sure that you have adequate lighting and spread of light against the image.
Once you figure out the type of lighting you want to have installed, the light temperature needs to be determined. The light temperature is measured in degrees of Kelvin (K) on a scale from 1,000 to 10,000. Typically, Kelvin temperatures for commercial and residential lighting applications fall somewhere on a scale from 2000K to 6500K. The light temperature is determined by the image selected. For a warmer image such as sunrises or sunsets you might want a temperatures closer to 3200k-3500k or if you have a cooler image such as a cityscape at night you might want a light temperature closer to 2700k-3000K.
Step 3: Choose the Type of Installation
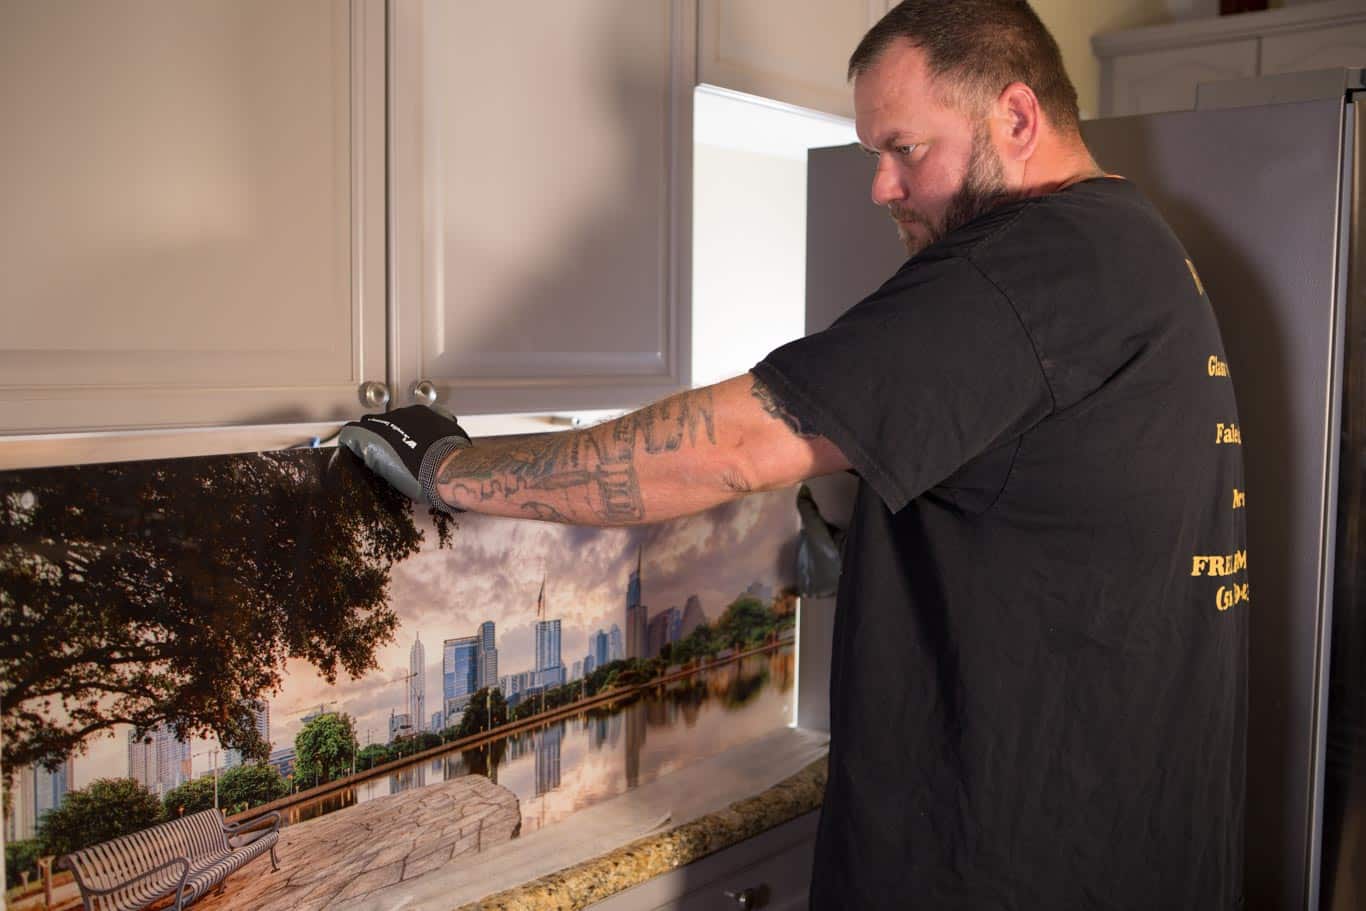
If your image is going to be backlit, the install is also simple, yet can get a little more complicated. You basically will be creating a lightbox for the glass. The main difference is that holes will typically be drilled in the glass and standoffs will be used. The standoffs come in a variety of sizes and finishes. Standoffs basically allow the glass to be installed away from the wall with a gap of approximately 2 inches from the back of the glass. This allows the light behind the image to fill the space and light the glass evenly. You will need to cap the gaps that can be created on the sides of the glass if you are not installing wall to wall.


The options are limitless and only bound by your imagination. Do you want an abstract image, cityscape or maybe one of a longhorn, if you are in Texas? We have multiple photos and designs to choose from or you can use a favorite image of your own.
For more information visit MyTexasPhotographer.com or contact Greg at 512-730-0291 or greg@gregdaily.com